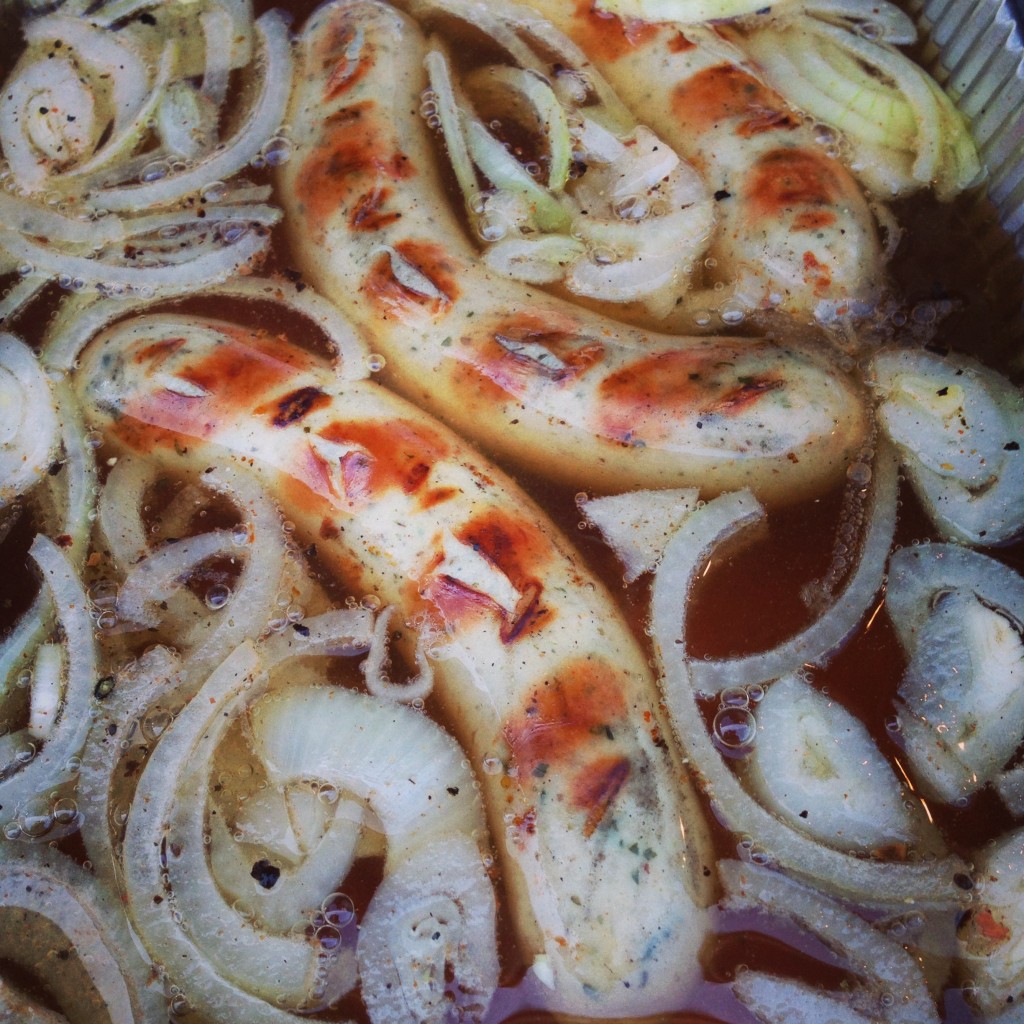


Summer is almost here again! Nothing says summer like standing outside grilling, enjoying the sun, a cold beer & a really good grilled burger!
HamburgerSverige has truly woken up, so I thought I’d write a little guide with the basic things you need to think about to get a really good hamburger!
Like with all food, it comes down to ingredients, ingredients, ingredients and love. I’ve been making these burgers for a couple of years and have tried both hits & flops along the way, so here are my best tips!
Kind regards
Robin Silferpil Brun

THE MEAT
When I make my burgers I use chuck exclusively as the base. In my case I choose dry-aged chuck to get more depth of flavor, and the longer it has hung the better. But of course it also works to grind a nice piece of fatty chuck that isn’t dry-aged.
THE GROUND MEAT
When it comes to the ground meat you want it to be above 20% fat, otherwise the burger will taste somewhat dry no matter how medium it is grilled.
I always aim for 25% fat in my ground meat. It can be hard to get 25% from chuck alone unless it is of exceptionally good quality (probably not something you’ll find in your local grocery store).
To raise the fat content and lift the flavor further, I also use brisket and fat from the dry-aged piece. A good proportion is about 70%-80% chuck and the rest brisket plus extra fat if needed. Brisket, suet or ordinary fat cap is recommended if you need to add fat. The important thing, in my opinion, is not to mix in anything other than BEEF, because for me a hamburger is beef.
Whichever meat you choose for your blend, don’t forget to keep the fat content high.
You can go as deep as you like into the cuts you can use, but this is a really good foundation to work from.
GRINDING
When you grind the meat, use a coarse grinder plate, 6-8mm at least.
Don’t forget to keep the meat really cold, a couple of degrees at most (also put loose metal parts of the grinder in the freezer an hour beforehand) & grind it twice.
This is to distribute the fat better throughout the ground meat. Then handle the ground meat as little as possible with your hands, since the fat in it starts to melt already from the temperature of your hand.
The less you handle & work the ground meat, the airier and lovelier your burger will be.
We add no salt before or after grinding, since salt in the ground meat before cooking makes it drier. The exception is if you’re standing at the grinder with the grill already lit and are going to eat à la minute, in which case the salt won’t have time to draw out any moisture.
The ground meat tastes absolutely best freshly ground, but of course you can freeze it too. If you have frozen it, remember to thaw it slowly in cold water.

METHODS
There are a number of methods you can use, and all have their pros & cons. Whichever method you choose, it can be worth thinking about size. The best size is 4–5½ oz If you go above that size, the meat is perceived as slightly drier at 5½ oz than e.g. 2x2¾ oz, simply because you bite through so much meat at once (this is purely psychological, the meat doesn’t get drier).
BLUMENBURGER
The Blumenburger is based on Heston Blumenthal’s technique from In Search of Perfection.
There you grind the meat and lay it out on plastic wrap with the fibers running in the same direction, salt it, and roll it up into a sausage with a diameter matching the burgers you want.
After 24 hours in the fridge the salt has bound the ground meat, and you can now use a sharp knife to cut perfect hamburger slices in any size you like. What’s really good about this method is that you can make large quantities, and because the fibers all run the same way, the burger falls apart incredibly nicely when you bite into it and is perceived as very airy and tender.
It is pressure that holds the burger together, and you get that from the rolling.
The only downside of the method is that the ground meat is salted in advance and is therefore a little drier than ground meat that isn’t salted in advance. As far as I know, though, this method is the only one that separates the collagen in the ground meat.
SMASH BURGER
This is my favorite at the moment.
With a smash burger you use a light hand, without packing too much, to shape a ball with a few light presses (don’t roll it), like a big meatball. You put the ball on the really hot surface, then take a weight, e.g. a small saucepan or something else suitable, and press straight down on the ball so it flattens out. Then salt generously on both sides during cooking.
I like this one because the balls are easy to prepare, you don’t need to salt in advance, and they get a nice, almost caramelized crust and are perfectly medium rare inside if that’s what you want.


BURGER PRESS
I don’t recommend this method to anyone, apart from the fact that burger presses are usually very annoying to work with and the meat sticks to them etc. When you use a burger press you squeeze all the air out of the ground meat, which leads to a hard, compact burger, not recommended.
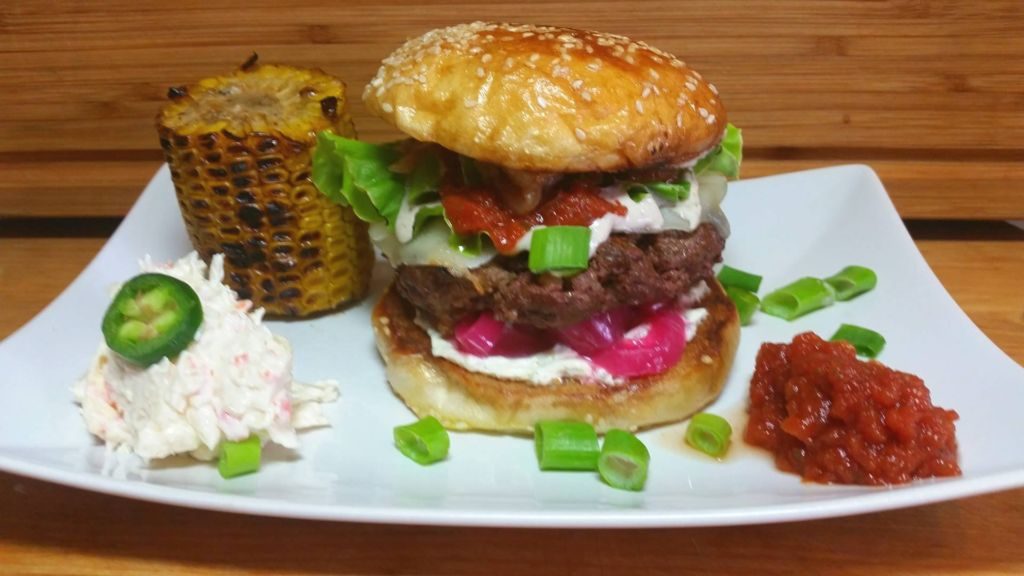
THE BUN
Finding a bun that lives up to my expectations has been a problem for a couple of years.
But now things are loosening up a bit on the bread front, with some smaller local products starting to appear, but nationwide there is still only one single bun I can recommend if you don’t bake your own, and that is Garant’s Brioche, which is sold in all Willys stores and some Hemköp stores. It is a really fresh and airy bun. As with all buns, though, it is recommended to put lettuce on the bottom so the bun doesn’t soak up the dressing and turn gummy.
Always butter the buns and grill/fry a quick crust on them (all sides). A toasted bun is not only tastier but also stands up better to dressings. I recommend butter spray.
Another tip is to check around with local bakeries for a lovely fresh brioche.

BAKE YOUR OWN
Getting really good buns is an art, and the key is to get plenty of air into them.
I currently have two favorites when it comes to buns. One is Flippin Burgers’ bun, which with a little practice is, in my opinion, superior.
The other is a recipe for brioche from Jonas Cramby’s book, which is very easy and quick to make & still holds good quality.
Flippin buns
You need:
15 oz special wheat flour (preferably swapped for Manitoba Cream).
13 g sugar
7 g salt
20 g yeast
2 1/¾ cup + 1½ tbsp cold standard milk, 3%
25 g liquid honey
1¼ oz good-quality rapeseed oil
For brushing:
1 egg
1 tsp cold water
a pinch of salt.
Baking soda (if dark buns are desired).
Method:
- Mix all the dry ingredients in a bowl.
- Dissolve the yeast in the milk in a mixing bowl, then mix in all the ingredients.
- Run in a dough mixer for 10–12 minutes at medium speed. It is very important that the buns become springy and fluffy, so a dough mixer is recommended. If you knead by hand, count on at least 30 minutes of hard work.
- Then let the dough rest in the bowl under plastic wrap for 30–60 minutes until it has just doubled in size.
- Set the oven to 104°F (proofing function) and in the meantime divide the dough into 11 equal pieces of 2½ oz
- Shape into round balls (form each piece of dough into a round, smooth ball while tightening the surface of the dough).
- Place the balls on a baking sheet lined with baking paper, not too close together, and flatten them with the palm of your hand.
- Turn off the oven, fill an ovenproof dish with lukewarm water (95–99°F) and place it on the bottom of the oven.
- Place the baking sheet with the buns in the middle of the oven and let them proof for 60–80 minutes until they have doubled in size.
- If the oven is too warm, the door can be left slightly ajar during proofing. If the oven doesn’t go lower than 50°, you should first wait a while after turning it off with the door ajar. It also works well to proof under a cloth on top of the stove.
- Take out the dough balls when they have just finished, along with the water-filled dish. Now it is perfectly fine to freeze the buns for a later occasion. (We didn’t test this; instead we baked them all and froze them.) If so, remember to let the buns thaw at room temperature before baking.
- Raise the oven temperature to 446°F.
- Whisk the egg and add the water and a pinch of salt (add 1 tsp baking soda if darker buns are desired).
- Brush the buns, put them in the oven and lower the temperature to 419°F.
- Bake for 6–8 minutes in the middle of the oven until they get a golden brown surface.
- The hamburger buns should be approx. 3 ½ in in diameter.
- Let the buns cool on a rack!
- Serve fresh.
Hamburger buns, brioche
You need:
- 2 & 1/¾ cup + 1½ tbsp lukewarm water
- 3 tbsp lukewarm standard milk
- 2 tbsp dry yeast
- 2 & 1/2 tbsp granulated sugar
- 2 large eggs
- 7 & 1/¾ cup + 1½ tbsp Manitoba Cream
- 2 & 1/2 tbsp butter
- 1 & 1/2 tsp butter
- Sesame seeds (if desired)
Method:
- Mix the water and milk with the yeast and sugar. Let stand for 10 minutes. Meanwhile, whisk 1 egg until fluffy.
- In a large bowl, mix the flour and butter with your hands (pinching it), as if you were making a crumbly dough. Butter should never be melted in wheat doughs.
- Then mix in the yeast liquid, the salt and the fluffy egg, and mix until you have a dough.
- Run the dough in a stand mixer for 8-10 min or pinch the dough by hand in the bowl. It will be stickier than an ordinary dough, and that is how it should be. It gradually becomes thicker during kneading but is a loose dough throughout.
- Shape the dough into a ball, place it under a cloth and let it proof for 2 hours.
- Then divide the dough into pieces of 3½ oz and shape them into balls.
- Place them on a baking sheet with baking paper, then lay a cloth over the dough balls. Let them proof under the cloth for another 1–2 hours.
- Set the oven to 200c and place a dish with lukewarm water on the bottom.
- Whisk egg no. 2 with 1 tsp water & optionally 1–2 tsp baking soda if darker buns are desired.
- Brush the buns generously but very carefully, then sprinkle on sesame seeds if you wish.
- Bake until the buns are golden brown, approx. 15min (depending on the oven).
- Let the buns cool on a rack.
- Serve fresh!


THE GRILL
Grilling the burgers themselves can be divided into two variants, depending on taste and the thickness of the burger.
One is to use a cast iron plate (griddle) over direct heat on the grill and leave one side with indirect heat. If you’re doing the smash technique, you heat the plate up really well, put on the ball, let it cook a little, smash it out with a firm press, then close the lid right away to get in more flavor, let it cook on the grill until you get a lovely almost caramelized crust, flip and repeat.
If you use big burgers you can then place the burger over indirect heat with the lid closed (preferably with wood chips).
Method no. 2 is to heat the grill up really well with the lid closed so the grate gets properly hot (for nice grill marks), then put on your burger and let it sit 1-2min over direct heat, flip, close the lid and repeat. When you have a nice crust, move the burger to indirect heat if needed (depending on the thickness you’ve chosen).
Here too with the lid closed and wood chips if you like.
The dressing
My personal favorite is a variant of the famous Shake Shack dressing.
Something that isn’t mentioned in the recipe for that much-talked-about dressing is that it’s important to use American ketchup & mustard, e.g. Heinz or French’s.
Why?
Swedish ketchup and mustard taste very far from American ones, and the dressing thereby ends up with an unwanted, completely different flavor.
In the original recipe this dressing is blended smooth with a stick blender, but I like it chunky.
Robin’s Shake Shack version:
You need:
- ½ cup mayonnaise (preferably homemade, otherwise Hellmann’s).
- 5 skivor Felix hamburger pickles with dill (dill pickles).
- 1 tbsp American ketchup.
- 1 tbsp American yellow mustard.
- 1 tbsp sweet chili sauce.
- ¼ tsp garlic powder.
- ¼ tsp paprika powder.
- A pinch of cayenne pepper.
The sides
Sides are a highly personal matter of taste, but some sides I often use are: pickled habanero red onion, Felix hamburger pickles with dill, butter lettuce, fried onion, fresh jalapeños (forget the ones in a jar), caramelized onion, Stokes ketchup, truffle mayo … smoked grilled bacon & BBQ sauce of course.
With triple-fried fries I recommend truffle mayo and grated Parmesan on the fries. Truffle salt is also insanely good.
Pickled habanero red onion
You need:
- 2 red onions
- ¾ cup + 1½ tbsp white wine vinegar
- 1/¾ cup + 1½ tbsp granulated sugar
- 1 tbsp salt
- 1 bay leaf.
- 1/2 finely chopped fresh habanero (seeds removed).
Method:
Slice the red onion.
Mix the remaining ingredients and heat in a saucepan until the sugar has dissolved,
add the red onion & take off the heat,
stir after 5min & then let cool.
Then pour into a jar and let stand for at least 24 hours.
Sweet mayo
¾ cup + 1½ tbsp homemade mayonnaise.
1 tbsp Johnny’s sweet-hot mustard.
Stir the ingredients together.
Fried onion
1 yellow onion or silverskin onion, cut into slices, heat up a frying pan with a neutral oil. Add the onion and fry over low heat without letting it take much color, stirring often, until it reaches the desired consistency.
Caramelized onion
2 silverskin onion.
2 tbsp neutral oil.
1 tbsp granulated sugar.
1 tbsp balsamic vinegar.
salt & black pepper.
Fry the onion in the neutral oil over low heat for 10–15 minutes; it should become really soft but not take on color. Sprinkle over the sugar and a pinch of salt & black pepper. Let it sit a couple more minutes in the pan. Stir the onion and add the balsamic vinegar. Let it sit 2min more and then take off the heat.
Truffle mayo
¾ cup + 1½ tbsp homemade mayo.
Grated fresh winter truffle.
Mix together and let it rest before serving.

Jalapeño ketchup
2 cups + 2 tbsp Heinz ketchup
4 whole fresh jalapeños, seeds removed.
1 tbsp apple cider vinegar.
Blend smooth with a stick blender & let it rest.
More burger recipes

Smash Burgers: How to Make Them
Burger expert Robin Edsmyr explains what smashing is and how to get the right meat, fat content, griddle and technique for a crusty, juicy burger.

Burger Cheese With Chili and Bacon
Make your own burger cheese from cheddar with homemade melting salt, chili and bacon. Cut it into slices once it has cooled and use it on…